Overview:
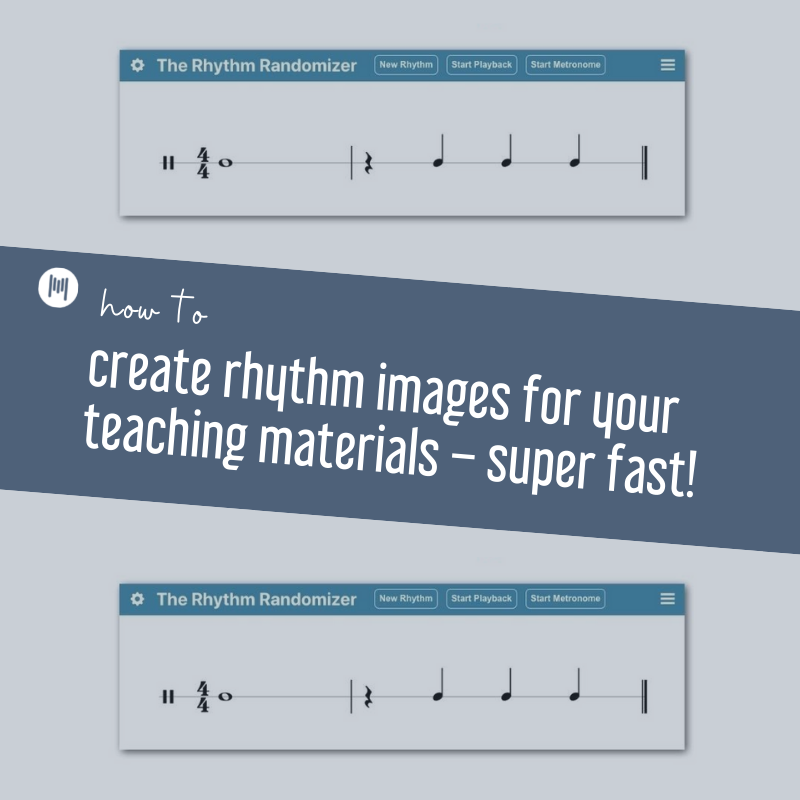
Making your own worksheets and supplemental materials has never been easier than with the help of The Rhythm Randomizer. This helpful tool is one of the easiest ways I know of to create rhythm images for your own teaching materials without having to type out dozens of exercises into Sibelius or Finale. It’s become a game-changer for me!
Are you curious how I do it? Here is a handy step-by-step guide.
Step 1 : Visit the Website

Before you do anything, first go to The Rhythm Randomizer which is a free website that generates unlimited rhythm exercises for you (& your students). Identify the parameters you will want to set for your exercise.
Step 2: Set Your Parameters

When you first go to The Rhythm Randomizer, you’ll see a randomly generated rhythm. To make your own examples, you’ll need to adjust your parameters or settings. Inside of The Rhythm Randomizer window, click on the gear icon in the top-left corner of the screen. This will open the “Settings” menu.
Inside of the “Settings” menu, you will have options to set your preferences.
In the “Playback Settings” menu, you can select things like tempo, concert pitch, count-ins,
In the “Measure Count Selection” menu, you can set the length of your example.
In the “Time Signature Selection” menu, you can choose your time signature from many options including examples in simple meter, alla breve meter, and compound meter.
Finally, in the “Note Selection” menu, you can select the different rhythms you’d like your example to contain including beamed notes, tuplets, syncopated rhythms, and other rhythmic combinations.
Step 3: Create Your Rhythmic Examples

To create a new example, select “New Rhythm” from the panel at the top of your screen. This will generate a new rhythm set from your predetermined parameters.
Next, take a screenshot of this example to use in any of your teaching resources (Google Slides, Powerpoint, Google Docs, Canva etc.)
Bonus Tip: Resize Your Window

Finally, don’t forget to resize your browser window. Sometimes, the examples are stretched out and can take up way too much room on a page. I get around this by resizing my browser window and playing around with the size to get it just right.
Then, I take a screenshot of the resized example to better fit inside of whatever resource I’m making.
Don’t forget to save a copy of this handout for later!
Final Thoughts
Do you want to learn about more ways to use The Rhythm Randomizer? Check out “5 Fun Ideas to Use The Rhythm Randomizer In Your Music Classroom” on the blog!
What uses can you come up with to use this tip in your classroom? Let’s learn from each other! Leave a comment below.
Download your copy
Would you like to take a copy of this with you? Click the button below and a copy of this will be sent directly into your inbox.
Looking for More Resources for Music Teachers?
Hello! I’m Katie Argyle – an Australian music technology trainer and consultant with a passion for helping music teachers through my business Midnight Music.
I’m a qualified teacher but no, I don’t currently teach in a school. I help teachers through my online professional development space – the Midnight Music Community – where there are tutorial videos, courses, links and downloadable resources.

I like to focus on easy ways to incorporate technology into what you are already doing in your music curriculum through a range of creative projects. I also run live workshops and have presented at countless conferences and other music education events.
If you want simple, effective ideas for using technology in music education, I would LOVE to help you inside the Midnight Music Community.